Disney Halloween Party

Disney Halloween Party

This year I decided to have a Disney Halloween themed get together and so I thought I would show you what Disney themed food I prepared for the party just encase you guys might want to host your own Disney Halloween party.

For the main I have made Disney Pizza which is literally just a pizza in the shape of Mickey Mouse’s head. These are great because everyone loves pizza and if you have any picky guests you let them put their own toppings on their own pizza. It’s a fun activity and it’s also less pressure for the host.

So you can either just stretch out your pizza into the shape of a Mickey, or you make three Pizza’s, one big (for his face) and two small ones (for his ears).

You can also make the toppings on the pizza Disney themed like I did. You can turn pepperoni into little hidden Mickey’s. I tried to do this with my mozzarella but sadly it all melted into one blob, at least it was tasty!

If you or your guests don’t like pizza (I know, crazy) then my other Disney suggestions are spaghetti bolognaise with meatballs, inspired by “Lady and the Tramp”, or Ratatouille, inspired by Ratatouille.

Then onto the best part, the puddings. I had three different options.

1. Gravestone Rice Krispy treats.

I was watching the film “Haunted Mansion” and thought gravestone treats would be great. Rice krispy treats are quite famous in the Disney parks and so to give me some nostalgia for my old Disney park days I choose rice krispy gravestones

All you have to do is make normal rice krispy treats which are rice krispys mixed with butter and marshmallows. You then mould your mixture into a rectangular baking tray and leave it overnight in the fridge to harden. Then carefully cut out graveyard shapes. Next melt some white chocolate with a couple drops of black food colouring to turn it grey. Cover the rice krispy treat in the mixture and let it harden by putting it in the fridge. Then write on the gravestone in black icing “R.I.P” followed by any Disney character you want. I choose the villains. To finish it off I dipped the treats in green icing to make it look like grass.

2. Jack Skellington Oreos.

In Tesco’s you can buy white chocolate covered Oreos which taste amazing. You can turn these into amazing Jack Skellington faces if you draw his face on using black icing. I used a food colour gel pen to create a more cleaned finish.  

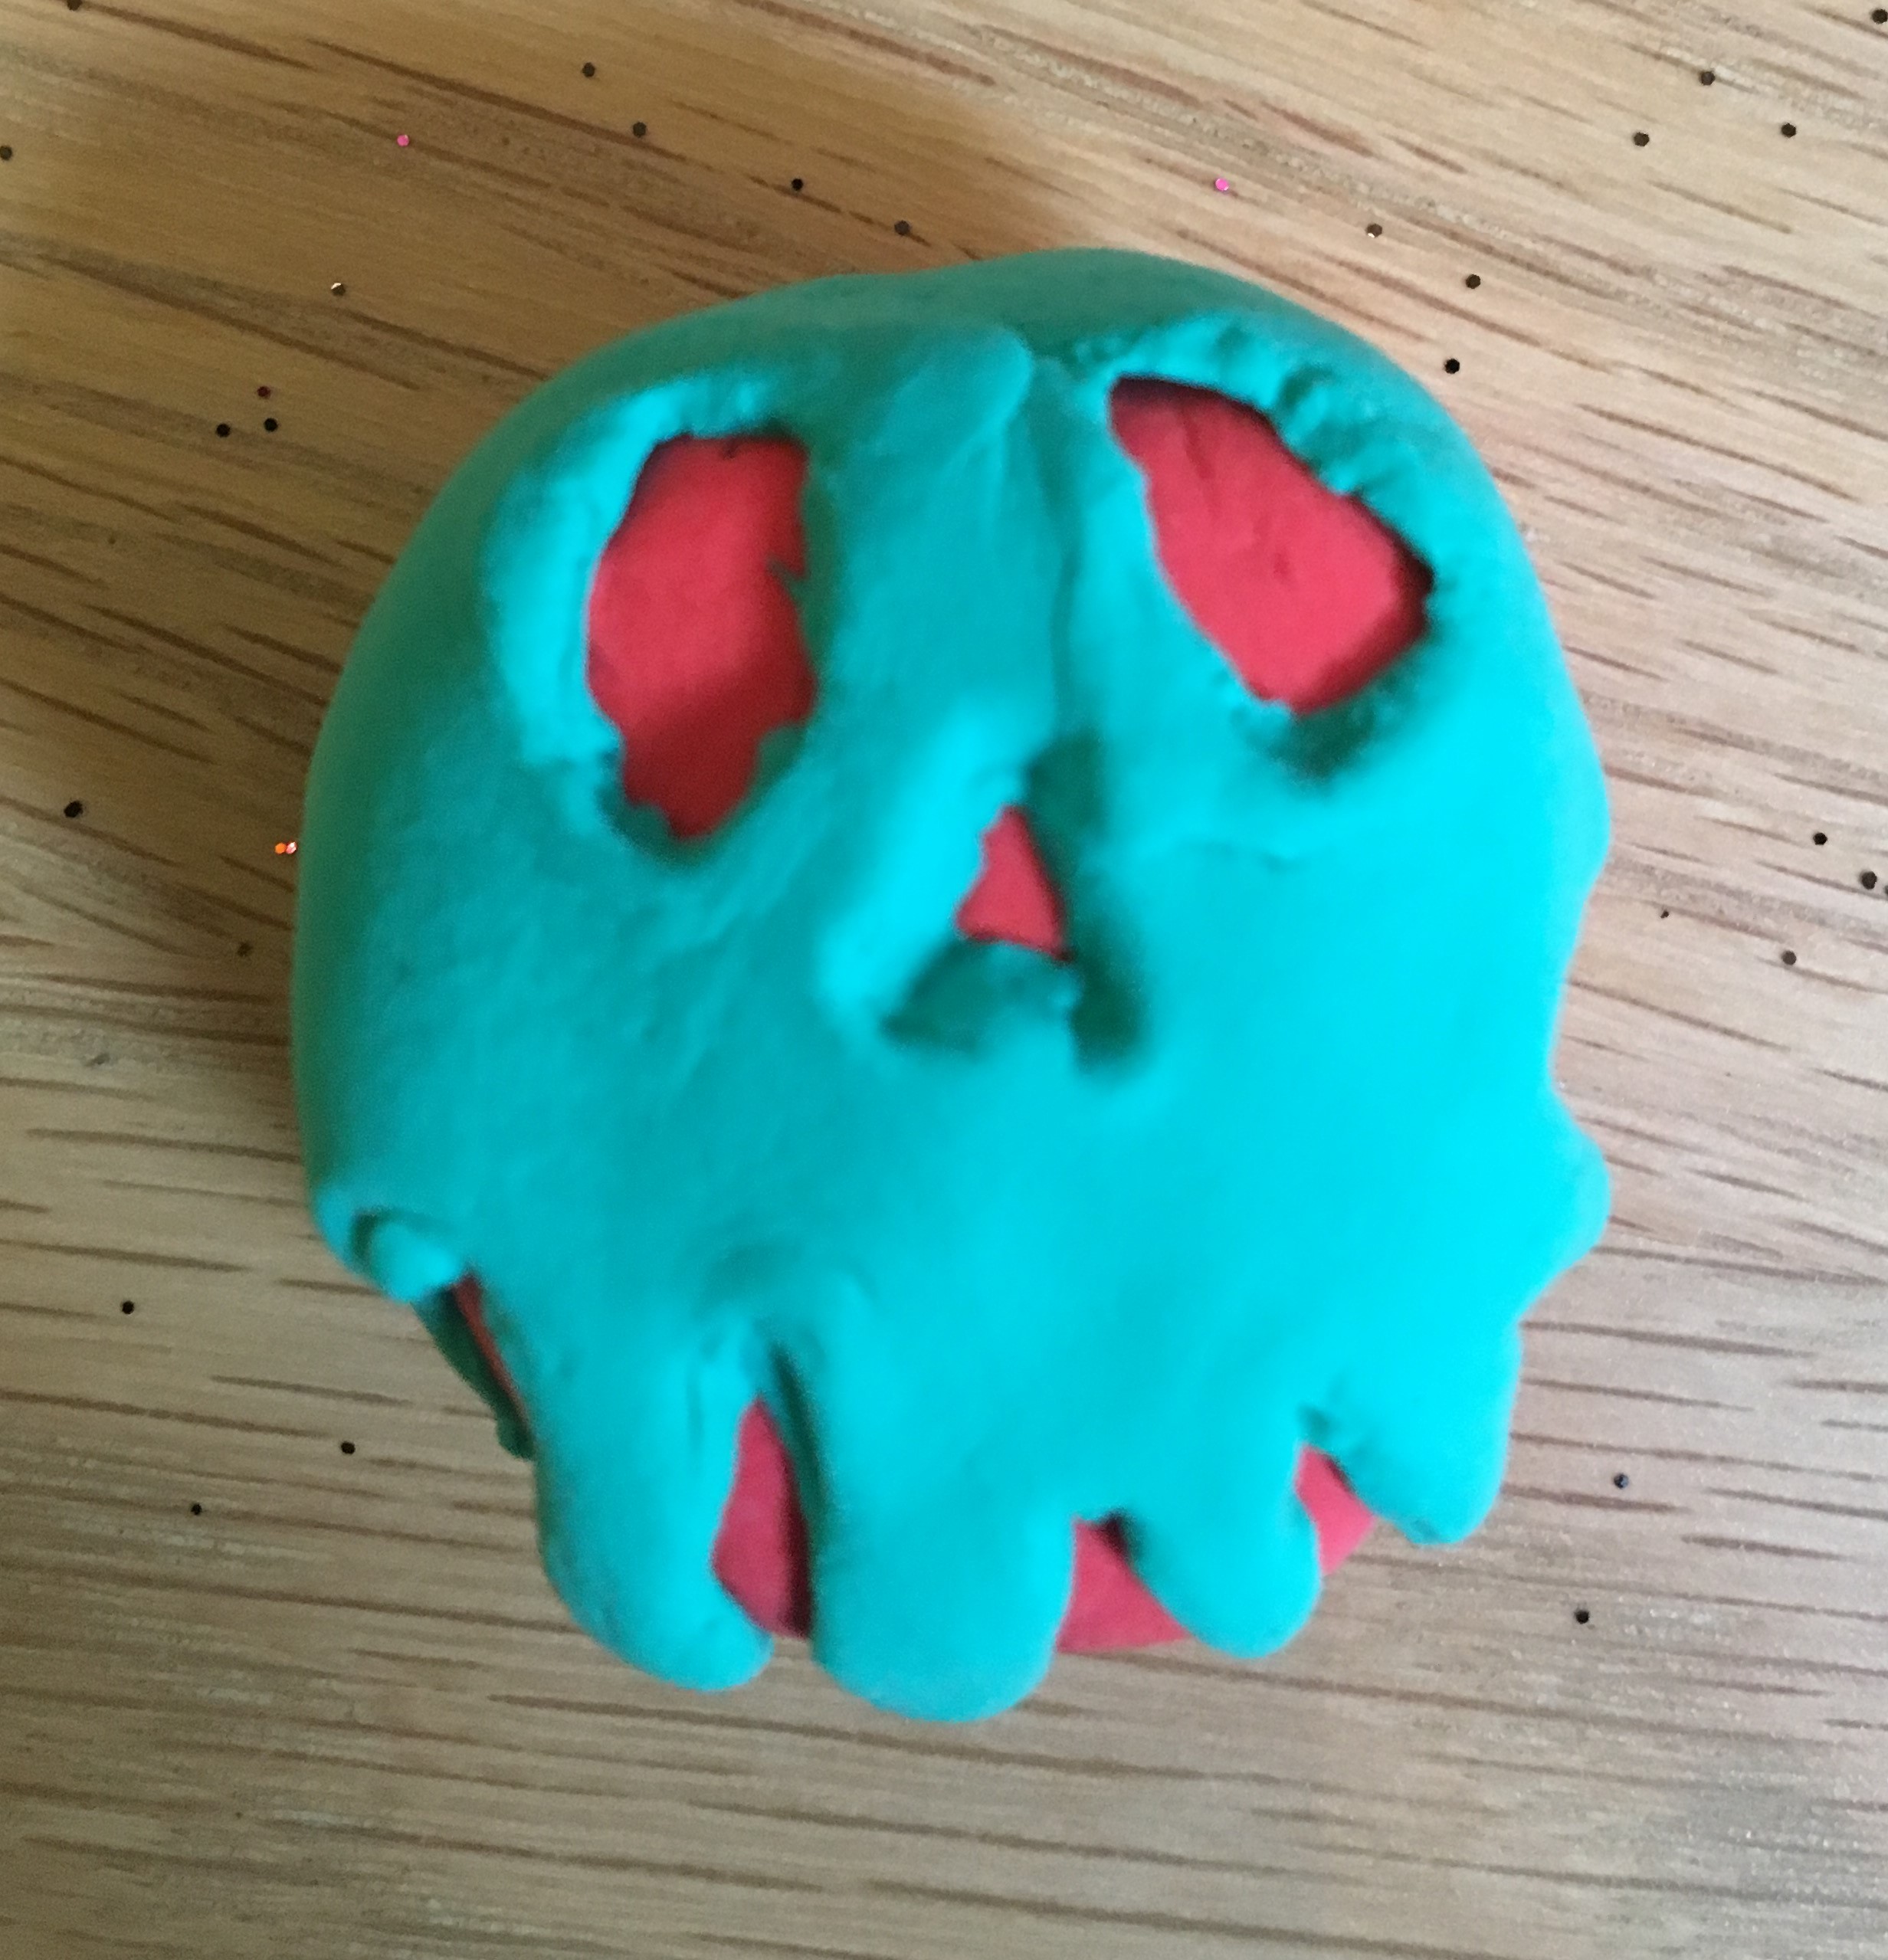
3. Dia de los Muertos Skull Biscuits  

As one of the films we were going to watch was Coco, I knew I wanted to make Coco inspired food so I choose to make these day of the dead, skull biscuits.

All you do is bake and decorate. Yes, they are a little trickier than the other things I’ve made but they taste great and look so cool.

They’re a lot easier to make if you have a skull cut out cookie maker but if you don’t, just like I didn’t, you can find a picture online to copy from when cutting them out. They don’t have to be perfect, in fact wobbly lines just makes them more spooky. There also fun to decorate, you can put on a spooky playlist or put on a film to watch in the background.  

With the food sorted, the Disney film suggestions I have are: Hocus Pocus, Haunted Mansion, Coco, The Nightmare Before Christmas, Halloweentown and Twitches. Obviously you can watch whatever films you want but these are my favourite Disney Halloween films.

Let me know if you have a Disney Halloween party this year and what treats you had and come back on Monday 28th for a blog all about the making of Coco.

How to Make a Disney Halloween Wreath

How to Make a Disney Halloween Wreath


Hello and welcome Back. In this blog I am going to be showing you how to make a Disney Halloween Wreath

Disclaimer: The idea of this wreath is completely my own, I made it just for a bit of Disney Halloween fun. I am not sponsored by anyone, no one has sent me any of the materials. I have spent my own money on all the materials myself.

hhh

You will need:

  • One wooden or foam wreath: medium size, £3from Hobbycraft


  • 4 wooden disks: £1 each from Hobbycraft
  • Decorative ribbon: +2.7 meters long £2 each from Hobbycraft
  • Silk clay, pack of 6: £5 from Hobbycraft (optional)
  • Red roses: £3 from Hobbycraft (optional)
  • Paint and paintbrushes (optional)
  • Hot glue gun: £4 from Hobbycraft and glue sticks (for glue gun): £2 from Hobbycraft, or alternatively you can use superglue.


Step 1

The first thing you need to do is decided which Disney villains you are going to be painting onto your wooden discs. The wooden discs I bought were from Hobbycraft and on one side had different letters on them but on the back were blank.

I choose Ursula from The Little Mermaid, The Evil Queen from Snow White, Captain Hook from Peter Pan and the Queen of Hearts from Alice in Wonderland.

hhhhhhhhhhhhhhhhhhhhh

If you have a favourite film like “The Nightmare before Christmas” or “Beauty and the Beast” you could paint all of the main characters onto the discs.

Once you have decided which villains or characters you want, find images of them to copy from. I found profile images of each of the villains on Pintrest that were really helpful.

If drawing and painting isn’t your thing then you find images of your favourite villain online and print them out to stick on.

hhhhhhhhhhhhhhh

hhhhhhhhhhhhhh

hhhhhhhhhhhhh

hhhhhhhhhhhh

Step 2

Once you have painted images of the villains onto the wooden discs, leave them to dry. Then get you wreath and ribbon. On the back side of the wreath glue down a piece of ribbon and then wrap the ribbon around the wreath. If you don’t have ribbon you could use wool, a mixture of black and orange or black and lime green would be great Halloween colours but it’s completely up to you. Try and make sure that you glue down the end of your ribbon at the back of your wreath.


Step 3

Play around with where you want to position your villains and then glue them down either with superglue or a hot glue gun. Normal pritt stick won’t work as the disks are quite heavy and will be likely to fall off.

hhhhhhhhhhhhhhhh

To add more decoration I used some small red roses I found in Hobbycraft for £3 to decorate around the Queen of Hearts as she is known for “painting the roses red”. For Queen Ursula and Captain Hook I added a Lego trident and a Lego sword I had spare from when I collected the Lego minifigures or you can easily make them out of silk clay which is what I used to make the rather large poisonous apple for the Evil Queen.

hhhhh

Step 4

To make the poisonous apple I got a chunk of red silk clay and moulded it into the shape of an apple. Then I rolled out a long rectangular shape of green silk clay that was wider in the middle. I then positioned where the eye and nose would be and cut them out. When happy with that I moved onto the dripping look I needed at the bottom of the apple. To make it easy I cut out little triangle from the bottom and then rounded the ends to make them look like drips. When I was happy with the shape I wrapped the green silk clay strip around my red apple. I then tweaked it and moulded it until I was happy. Leave it to dry for a 4-5 hours in a dry place and it will turn rock solid, then glue on with a hot glue gun.

Alternatively make it out of air drying clay and just paint it red and green.

hhhhhhhh

Step 5

To finish of your creation you can put a gloss finish on the paintings, I recommend modpodge from Hobbycraft, but it’s not necessary. I personally didn’t put this on because I like the rustic look, but if you want a more finished look then go for it.

As I had a large gap at the top of the wreath that I wasn’t happy with I have glues on a Mickey Mouse Halloween decoration I bought from Primark in a set but you could equally make a bow out of any spare ribbon, leave it blank or use this space for where you can tie a hook on it to hang it up.

hhh

That finishes your Disney Halloween wreath. I really hope you enjoyed seeing how I made my Halloween Disney wreath. I’m going to admit, it’s not perfect but I had fun putting on a Disney film and doing some craft. If you have a go at making this wreath or have made your own I would love to see it.

Come back on Friday 26th October for a Disney Halloween haul.